

How To Perserve Wood For Wedding Cake Holder
It was but a matter of fourth dimension before we created a practise-it-yourself cake stand tutorial because we basically live for nuptials cake and think any celebration requires the sweet stuff! Inspired by a little rustic and a petty vintage aesthetic, we've crafted up a beautiful project that is set to brand your cake or dessert tabular array actress special with your handmade bear upon. Using a wooden plaque and a pencil cup (aye, you read that right!), you can create a unique pedestal for your special mean solar day. Not having cake? Internally, our block-loving hearts are broken, just we still dear y'all because, heck yes, this project is perfect for any pies, cookies, and anything else that you lot can dream of to satisfy your guests' sweet teeth.

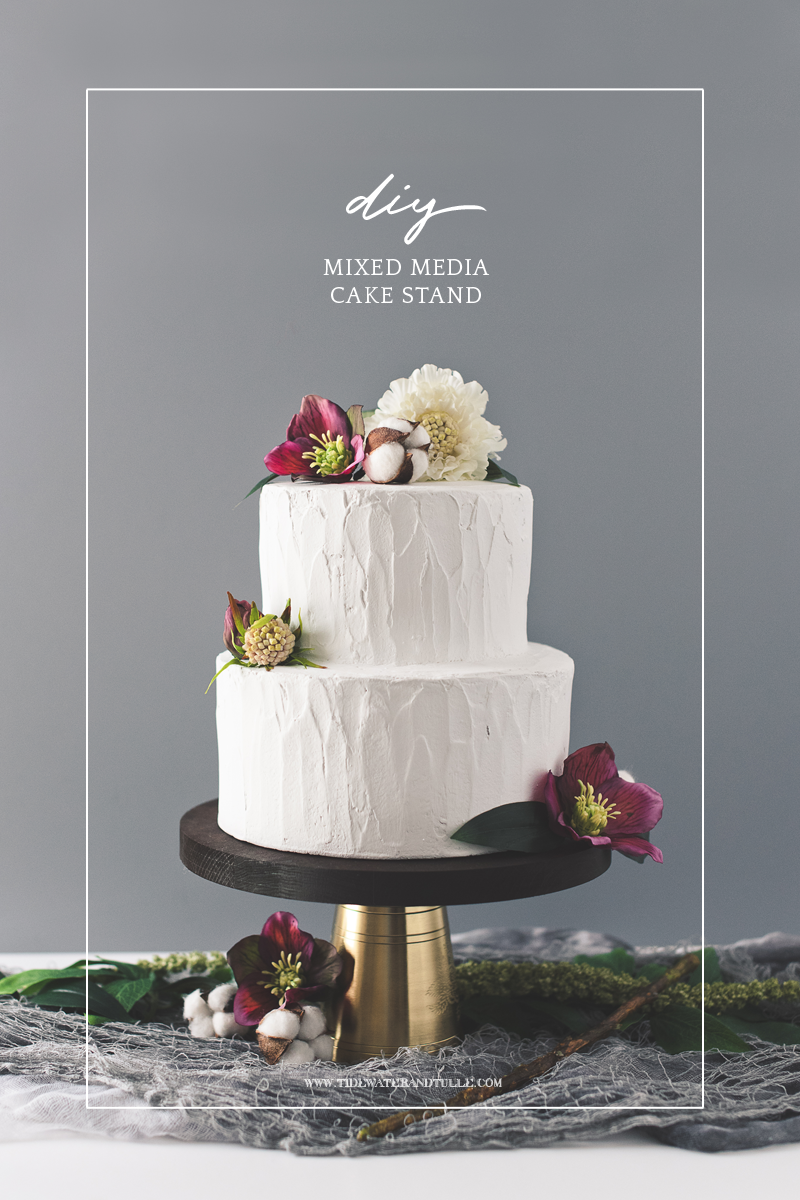
How to Make a Gorgeous Wood and Metallic Cake Stand
Difficulty Level: Easy
Colour Inspiration: Kona dark-brown, gold, and plum purple
MATERIALS
• Unfinished wood circumvolve plaque (ours was a x" clock plaque purchased from a local craft store)
• Woods Stain, dark dark-brown
• Unique pencil cup, utensil holder, or small pedestal (like this or this)
• E-6000 Arts and crafts Glue
• Foam brushes
• Plastic gloves
• Plastic garbage bag
• Old, make clean textile rag
• Water-based/oil-modified polyurethane sealant
IMPORTANT FOOD SAFETY & Cake STAND Intendance NOTE
According to finishing expert Bob Flexner, all forest finishes are nutrient-safe once they have been fully cured, including polyurethane varnish (like the 1 used in this tutorial). The dominion of pollex for full curing is 30 days at room temperature, and so be sure to do this project at to the lowest degree one month before your big day. If you must get in less than 30 days, use a cardboard or wax paper circumvolve underneath your wedding cake.The wooden part of your block stand is hand wash only one time cured, only for best results, information technology's best to wet wipe to clean. (Exist mindful of whatever cloth your pencil loving cup/pedestal is made of, likewise!) Information technology'due south definitely not meant for the dishwasher! [source]

INSTRUCTIONS
1. Prepare your workspace by covering with a plastic garbage bag or plastic driblet cloth. Wood stain tin be very messy! Read your wood stain'due south instructions before getting started just in case in that location is a particular stride non covered in this tutorial.

2. Shake your can of wood stain well and open the metal lid with a screwdriver (or even your nail clipper's handle). Using your foam brush, dip into the stain, wipe off excess on the can'south rim, and paint one side of your wooden circle plaque. At that place is no right or incorrect way to do this, merely nosotros recommend painting along the grain of the forest. After y'all've covered one side of your wood, permit it dry out for two-3 minutes. The longer you leave information technology, the darker your stain will exist.

3. One time dried to your preference, take your one-time rag and wipe the excess off of your wooden plaque going along with the grain. You will start to meet the beautifully stained grain come through equally you wipe. Wipe and rub thoroughly beingness mindful of the direction since it will show how you remove the backlog stain.

4. Echo steps 2 and 3 for the other side of the wooden plaque as well every bit the border.

5. Subsequently yous terminate rubbing off the excess stain on all sides, let the wooden plaque dry out for 1 hr. Let dry for longer if y'all're in a humid area.

6. Using a different clean foam castor, pigment a consistent polyurethane coat on both sides of your stale wooden plaque. Let dry earlier coating the circular border. Allow the plaque to dry out for 24 hours earlier the next step. (We don't accept photos of this step due to our own photo shoot timing, then don't forget to do this to make your cake stand up food-safe!)
7. After everything is stained and sealed, utilize your E-6000 glue and carefully line the edge of your pedestal (or in our case, aureate pencil loving cup). Dry upside downwards (as pictured) to avert any potential drips. Place a book or heavy object on meridian to requite skillful weight to the drying process. Set information technology and forget it for at least 12 hours.
viii. As mentioned in a higher place, be certain to let your block stand cure for 30 days before using with any nutrient. Once the large twenty-four hour period rolls around, information technology'll be fix to shine on your dessert table!

TUTORIAL CREDITS
Photography, Tutorial, and Styling: Chelsea LaVere | Silk Flowers: Afloral | Simulated Prop Cake: Rosettes and Stems via Etsy
Want to Add together to a Non-DIY Pick To Your Dessert Table?
Store Our Curated Favorites!
Editor'south Notation: Specially curated by united states of america, the in a higher place production links are partner-connected and purchasing through these links means we go a small commission from those brands that helps back up this website. Y'all can find our full chapter disclosure policy here on Tidewater and Tulle.
Source: https://www.tidewaterandtulle.com/2018/09/how-to-make-a-wooden-wedding-cake-stand.html
Posted by: armstronghiserus1972.blogspot.com
0 Response to "How To Perserve Wood For Wedding Cake Holder"
Post a Comment